And there we are with the step by step process for the Girl with a Gun I posted some days ago.
1) as usual the start point is the pencil drawing on common print paper.
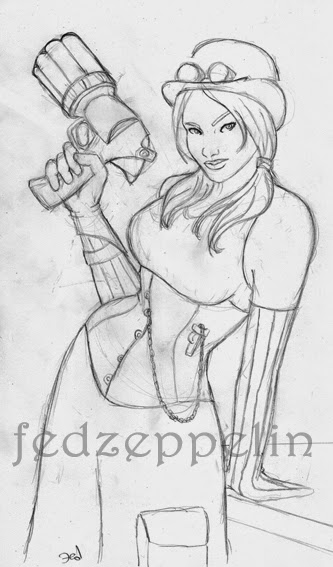
2) Cleaning up the illustration: after I scanned it and opened the file with adobe photoshop I start ereasing all the pencil line in excess and all the grey shadows. I'm afraid I forgot to take a screenshot of the final result after the clean up, but you should easily imagine it, it's like the image above but more tidy ;)
3) The flat colour part. It's when I choose what palette I'll use to create the atmosphere I had in my mind while I was designing. I simply fill up the different areas with a colour shade that will be a sort of halfway between the darkest colour I'll use for the shades and the lighter colour I'll use for the birght points.

4) Colouring the lineart. I simply change the colour of the whole lineart making it more similar to the base colour of the area. It's a little detail but the image looks quite different.

5) Volumes time: with a soft brush I try to armonize the lineart with the base flat colour and, while doing it, I try to make the image a bit
more tridimensional casting shadows according to the volumes as the
figure was under a neutral light source.

6) Shadows. I simply paint the shadows according to the
lightsource I chose. I usually paint the shadow with a colour (dark
green-brown in this case) to suggest the idea of the kind of light is
shining in the picture. After I painted the shadows I set the layer on
'multiply' and low the opacity.


7) Light. Now it's time to add some light spots, I go on using the soft brush and paint with a bright colour the spots where the light goes, I try to be consistent with the different materials (i.e. the light has a different effect on humas skin than on the fabric) but I don't always suceed.
8) Final atmosphere. That's the final part of my work: I simply add some detalis like the wallpaper and give a stronger light.
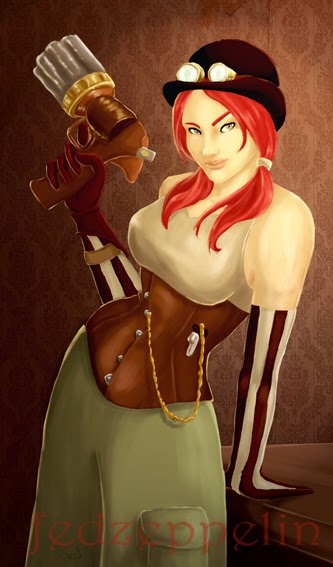
I hope you enjoyed the work in progess process :)
Disclaimer: I summarised a lot, but I usually work the steps 5, 6 and 7 on an area at time, starting a new area once the previous one is complete but it was simpler to explain this way.
Molto interessante!
RispondiEliminaottimo risultato!
grazie! :)
EliminaSuch WIPs shots are so valuable to someone (like me) who is trying to self-learn the figure drawing process. Thanks for posting it!
RispondiEliminaI'm really happy about this, but please, always remember I'm not a 'master' I'm just someone who practise, so don't take my method like a total truth thing, it's just how I work ;)
Elimina